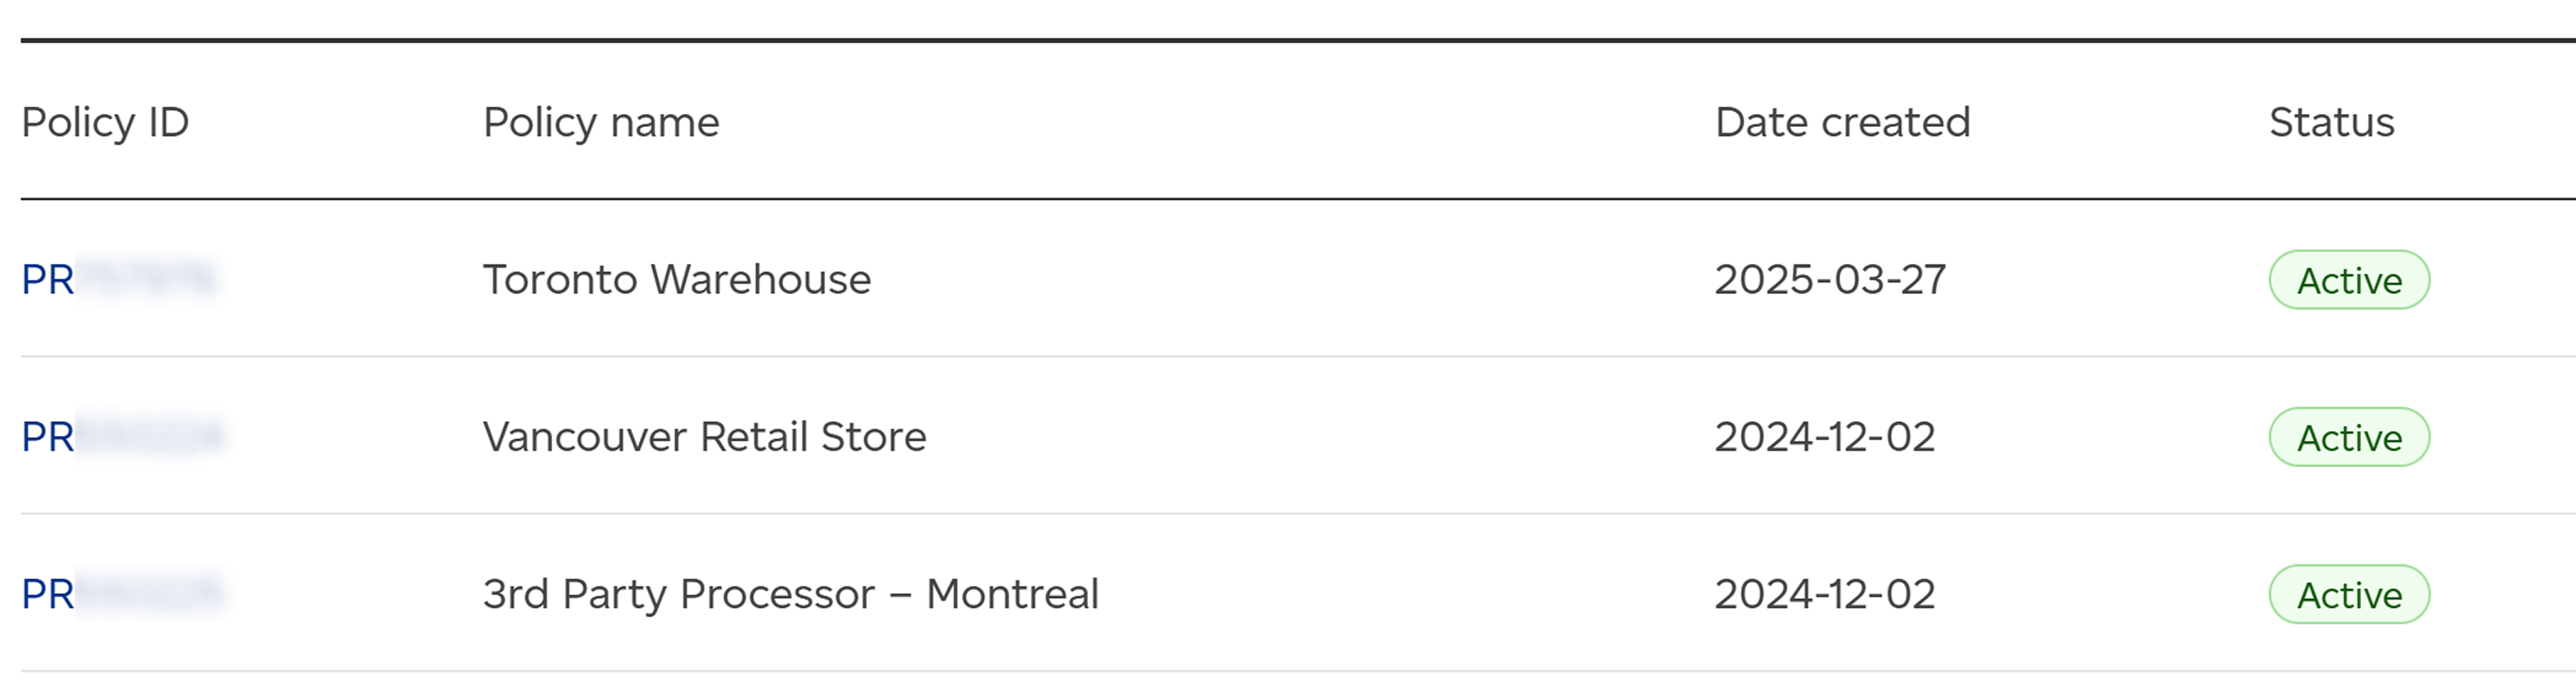
Organize return policies by return location
If you handle returns at multiple locations (such as warehouses, retail stores or third-party processors), we recommend creating a separate policy for each. Set a unique return address in each location-specific policy. This helps prevent misrouted returns and ensures items go to the correct destination for faster processing.
Then, simply share the appropriate “Get a return label” link with your customers based on where they should return the item.
Example policy names:
- Toronto Warehouse
- Vancouver Retail Store
- 3rd Party Processor – Montreal
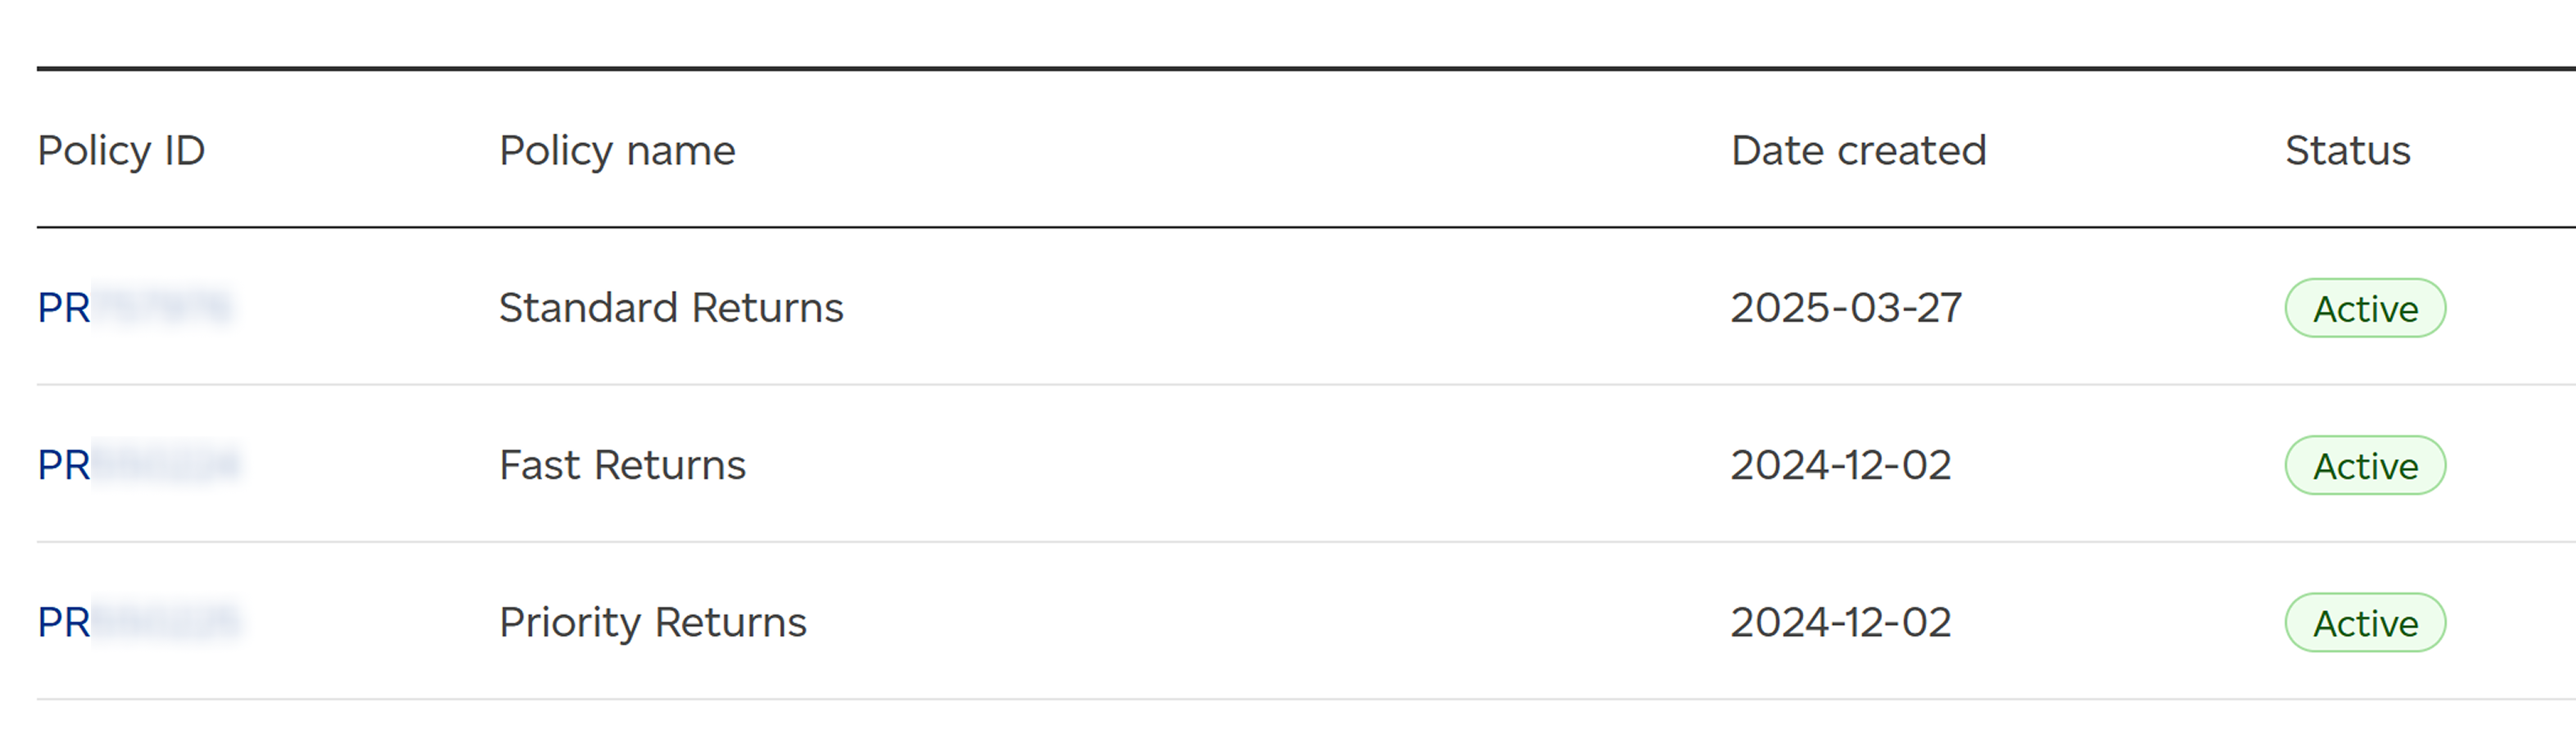
Organize return policies by shipping service
To offer different shipping services for returns (such as Regular ParcelTM, Expedited ParcelTM, XpresspostTM, or PriorityTM), create a separate policy for each. This allows you to give customers options for how quickly they want to return items and helps you manage associated costs.
Once set, simply share the matching “Get a return label” link based on the service you want to provide for that specific return.
Example policy names:
- Standard Returns (Priority™)
- Fast Returns (Expedited Parcel™)
- Priority Returns (Priority™)
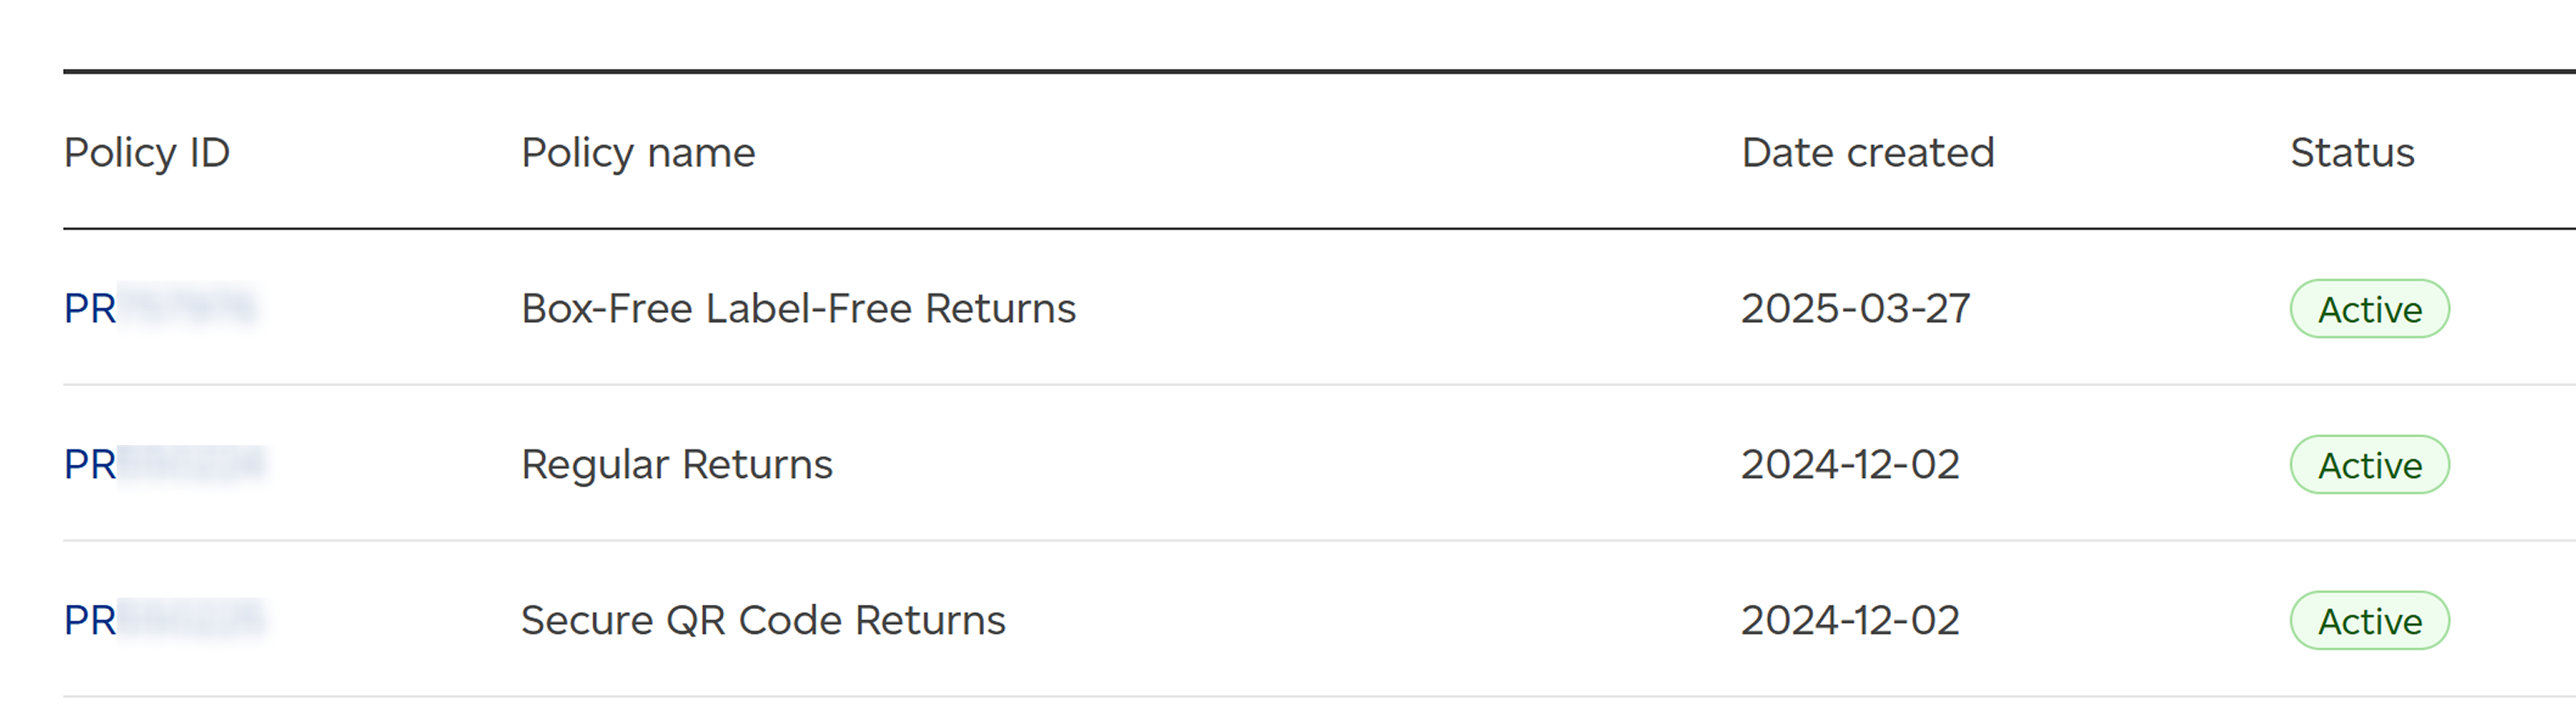
Organize return policies by return options
If you offer various customer return experiences (such as box-free label-free or QR code-based drop-offs), you should incorporate these into your return policies. This allows you to cater to different customer preferences and streamline specific return logistics.
Set the preferred return option in each policy, then provide the corresponding “Get a return label” link to your customer.
Example policy names:
- Box-Free Label-Free Returns
- Regular Returns
- Secure QR Code Returns
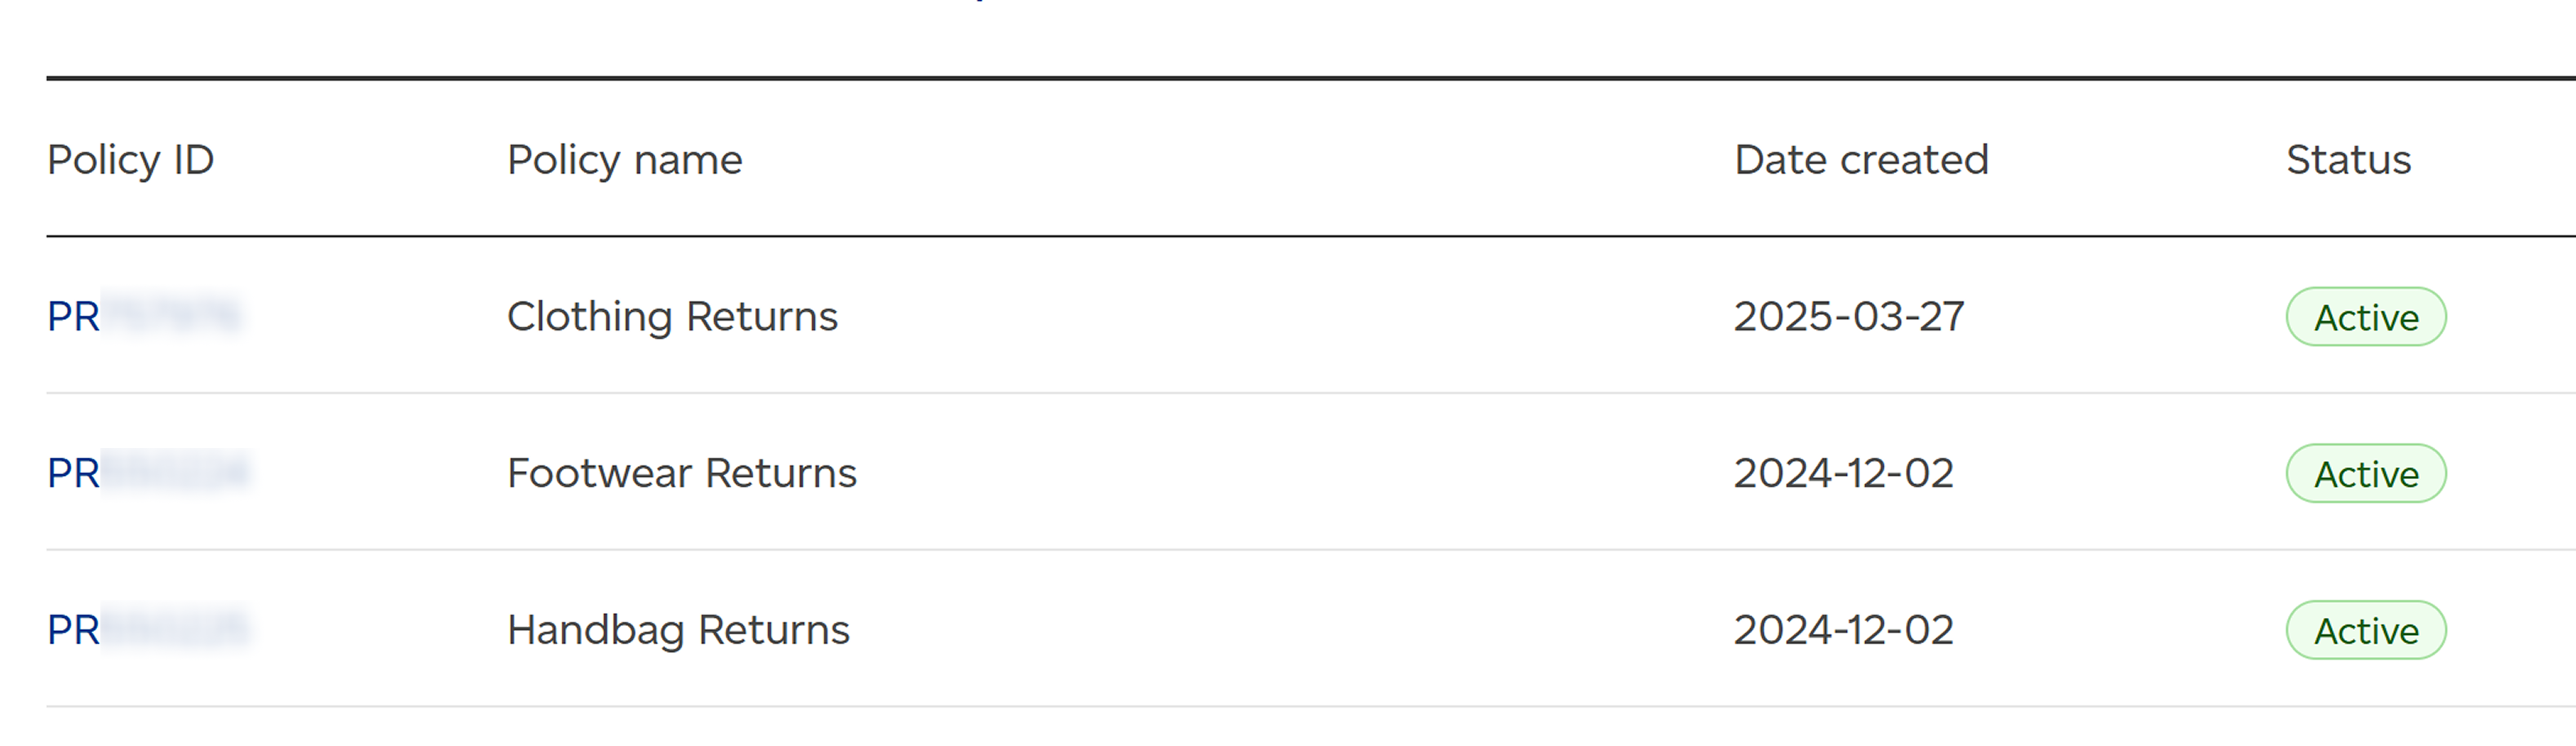
Organize return policies by product type
For products requiring specific handling due to size, value or other factors, create tailored policies for each product category. This ensures that customers correctly return items like delicate electronics or oversize goods. You can combine different shipping services, return options and return locations as needed within these policies.
Example policy names:
- Clothing Returns
- Footwear Returns
- Handbag Returns
Customization
You can also combine these approaches based on your unique return requirements. For example, you might create one policy for high-value shoes returned via PriorityTM with secure QR codes for drop-off, and a separate policy for clothing returns that go to your nearest retail store. This flexibility allows you to tailor your return process to perfectly fit your business needs.